

A Digital Clock Using Arduino and LCD | Complete Guide
[Sekhohub.online]
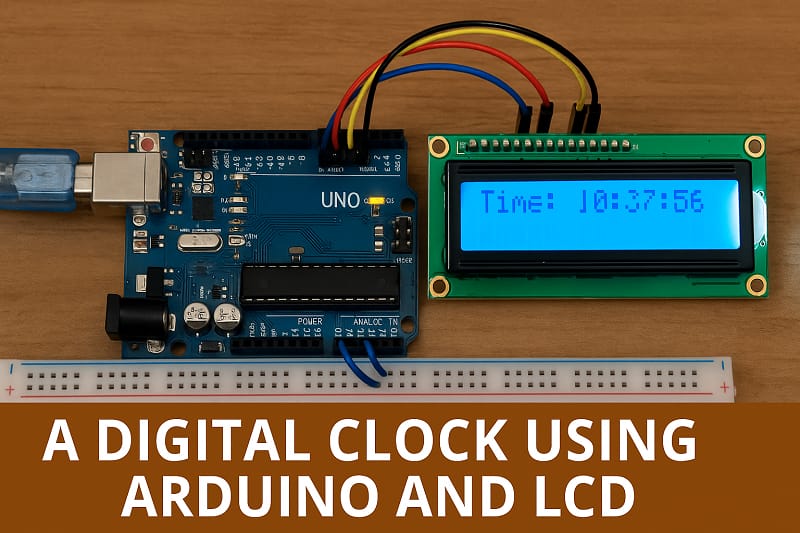
Want to build your own digital clock using Arduino? This project is beginner-friendly and teaches you how to use a 16×2 LCD, an Arduino UNO or Nano, and an RTC module (DS1307/DS3231) to display real-time hours, minutes, and seconds—just like a commercial digital clock!
In this blog post, we’ll cover the full working, circuit, code, and components to make your Arduino Digital Clock a success.
Materials for the Project
- 1x ARDUINO NANO
- 1x 16X2 LCD
- 1X 2K RESISTOR
- 1x PUSH BUTTON
- 1X 3-PIN TERMINAL BLOCK
- 1X PERF BOARD
- JUMPER WIRES
- USB Cable
Download Circuit Diagram

ARDU_CLOCK_LCD File
Download Gerber File
Gerber
Conclusion
Building a digital clock with Arduino and LCD is a fun and educational project that strengthens your understanding of I2C communication, RTC modules, and LCD interfacing. It’s perfect for learning or displaying real-time info in your DIY electronics setup.
Let us know if you’ve made it—and don’t forget to share photos with us on SekhoHub!