

Powerful DIY Touch-Controlled Lamp in 5 Easy Steps Using TTP223 Sensor & Relay
The DIY Touch-Controlled Lamp is a practical home automation project that helps you switch on or off a lamp with just a gentle touch. This step-by-step guide explains how to build a DIY Touch-Controlled Lamp using a TTP223 capacitive touch sensor, BC547 transistor, relay, and a 5V power supply. The DIY Touch-Controlled Lamp is ideal for beginners and hobbyists who want to understand sensor-based switching. By following this tutorial, you’ll explore how to wire the circuit, use the components effectively, and test the system.
The DIY Touch-Controlled Lamp combines simplicity with modern smart functionality. Whether you want to add a bedside touch lamp, automate your home lighting, or learn electronics, the DIY Touch-Controlled Lamp will be a rewarding project. Start building your DIY Touch-Controlled Lamp today and bring touch-based control into your home.
Introduction
Imagine controlling your lamp with just the tap of your finger instead of fumbling with mechanical switches. A DIY Touch-Controlled Lamp makes this possible. Using a capacitive touch sensor (TTP223), a BC547 transistor, and a relay module, we can design a smart and reliable lamp controller that responds instantly to touch.
This project is suitable for:
Beginners in electronics
DIY enthusiasts exploring home automation
Students learning about capacitive touch sensing and switching circuits
In this detailed guide, we’ll explore how the circuit works, the components required, and how to assemble it step by step. By the end, you’ll have a working DIY Touch-Controlled Lamp ready to power any AC or DC lamp in your home.
How the Touch-Controlled Lamp Works
The working principle is straightforward:
TTP223 Capacitive Touch Sensor:
Detects human touch using capacitance change.
When touched, it outputs a HIGH signal (logic 1).
BC547 NPN Transistor:
Used as a switch to amplify the small current from the TTP223 output.
Controls the relay module based on sensor output.
Relay Module:
Acts as an electrically operated switch.
Controls the AC lamp load safely.
Power Supply:
Provides 5V regulated voltage for sensor and relay.
Flow of Operation:
Touch detected → TTP223 sends HIGH → BC547 turns ON → Relay energizes → Lamp switches ON.
When touch is released, the opposite occurs.
Materials for the Project
| Component | Quantity | Description | Click & Buy |
|---|---|---|---|
| TTP223 Capacitive Touch Sensor Module | 1 | Detects human touch and outputs digital signal | Click & Buy |
| BC547 NPN Transistor | 1 | Used as a switch to drive the relay | Click & Buy |
| 1K Resistor | 1 | Current limiting resistor for transistor base | Click & Buy |
| 5V Relay Module | 1 | Relay for switching AC lamp safely | Click & Buy |
| 5V DC Power Supply / Adapter | 1 | Provides stable 5V to sensor & relay | Click & Buy |
| AC Bulb / Lamp | 1 | Load controlled by relay | Click & Buy |
| Jumper Wires (Male-Female) | Few | For making circuit connections | Click & Buy |
| Breadboard / PCB | 1 | For prototyping or permanent circuit | Click & Buy |
Useful Tools
| Tool | Quantity | Purpose / Notes | Click & Buy |
|---|---|---|---|
| Soldering Iron Kit | 1 | For making permanent connections | Click & Buy |
| Solder Wire (60/40, 0.8mm) | 1 | Electrical soldering | Click & Buy |
| Wire Stripper & Cutter | 1 | Stripping jumper wires | Click & Buy |
| Mini Screwdriver Set | 1 | For module and relay terminal screws | Click & Buy |
| Multimeter | 1 | Testing voltages and continuity | Click & Buy |
| Hot Glue Gun (optional) | 1 | Securing components in place | Click & Buy |
| Small Pliers | 1 | Holding and bending wires | Click & Buy |
| Heat Shrink Tubing Set | 1 | Insulating exposed wires | Click & Buy |
Download Circuit Diagram

Circuit Diagram Explanation
The circuit is simple and easy to replicate:
Sensor Connection:
VCC → +5V
GND → Ground
OUT → 1K resistor → Base of BC547
BC547 Transistor:
Collector → Relay IN
Emitter → Ground
Relay Module:
VCC → 5V supply
GND → Ground
NO (Normally Open) → One terminal of AC lamp
COM (Common) → AC supply
When you touch the sensor pad, the transistor energizes the relay, switching the lamp ON.
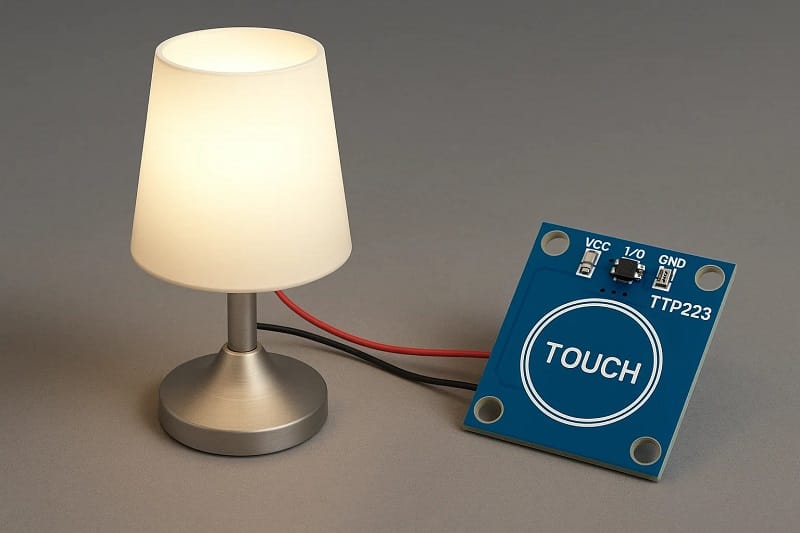
TTP223 Capacitive Touch Sensor Pinout.

Step-by-Step Guide
Step 1: Prepare the Components
Gather all components listed in the BOM table. Ensure you have a 5V regulated supply for the sensor and relay.
Step 2: Wire the TTP223 Sensor
Connect VCC → 5V
Connect GND → Ground
Connect OUT → 1K resistor → BC547 base
Step 3: Connect the BC547 Transistor
Connect Emitter → Ground
Connect Collector → Relay IN pin
Step 4: Power the Relay Module
Connect VCC → 5V
Connect GND → Ground
Step 5: Connect the Lamp to Relay
Connect AC Live → Relay COM terminal
Connect Relay NO → Lamp
Neutral line directly → Lamp
Step 6: Test the Circuit
Power ON the circuit with 5V supply.
Touch the TTP223 pad.
The relay clicks and lamp turns ON.
Release touch → Lamp turns OFF.
Applications of DIY Touch-Controlled Lamp
Bedside touch lamp for convenience
Part of home automation projects
Replacement for traditional wall switches
Educational project for electronics learning
Safety Precautions
Always use a properly rated relay for your AC lamp.
Ensure insulation when working with AC wiring.
For beginners, test with a DC lamp first.
FAQs
Q1: Can I use Arduino instead of BC547?
Yes, but it’s unnecessary for a simple ON/OFF lamp. The TTP223 with BC547 is enough.
Q2: Can I control multiple lamps?
Yes, if the relay supports the total load.
Q3: Is it safe with AC mains?
Yes, as long as the relay is rated for the lamp load and you insulate wires properly.
Q4: Can I make it toggle (touch ON, touch OFF)?
Yes, TTP223 has toggle mode by default.
Q5: Can I use MOSFET instead of transistor?
Yes, but BC547 is cheaper and adequate here.
Conclusion
Building a DIY Touch-Controlled Lamp is an excellent project to learn about capacitive touch sensors, transistors, and relays. With just a handful of components, you can transform any ordinary lamp into a touch-activated smart lamp.
This project is scalable and can be used in home automation, bedside tables, or as a modern replacement for mechanical switches. With simple wiring and safe practices, you’ll have your lamp responding to touch in no time.