
Learn how to use Arduino Conditional Statements in real projects with step-by-step examples. In this tutorial, we explain the basics of Arduino Conditional Statements including if, if-else, and switch-case with simple circuits. Using Arduino Conditional Statements, you can control LEDs, buttons, and other components based on conditions.
The guide covers syntax, wiring, and code examples to make learning easy. Whether you are a beginner or want to refresh your knowledge, Arduino Conditional Statements are essential for decision-making in projects. By practicing Arduino Conditional Statements, you’ll understand how Arduino reacts to inputs and executes logic. With Arduino Conditional Statements, your projects become smarter and interactive. This article provides clear explanations and tested examples of Arduino Conditional Statements for better understanding.
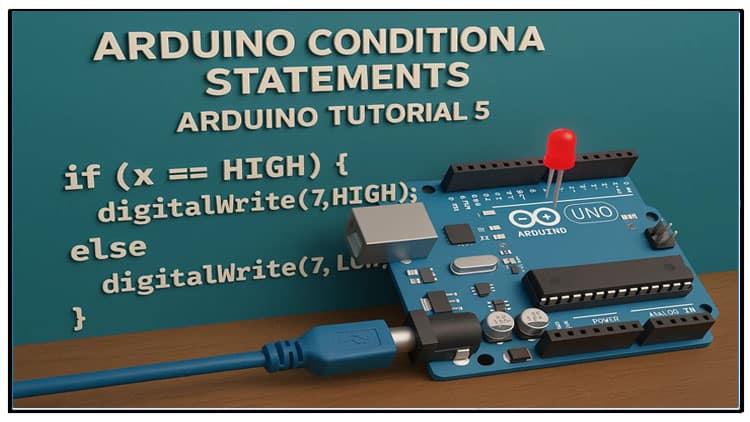
Introduction Arduino Conditional Statements
Hi friends! In the previous project, Arduino Tutorial 4, we learned about loops and created a few example projects.
In this project, we will move forward and learn about conditional statements in Arduino programming. Conditional statements allow us to make decisions inside our code based on specific conditions. This is one of the most powerful features of any programming language, and in Arduino, it’s the foundation of almost all interactive projects.
So without further ado, let’s start this project.
What are Conditional Statements?
Conditional statements execute a set of commands when a particular condition is met. They give our program the ability to decide what to do next, depending on inputs or logic.
Arduino supports three main types of conditional statements:
if statement
if-else statement
switch-case statement
We’ll go through each one with syntax, circuit examples, and Arduino code.
The if Statement
Syntax
First, we write
if.Inside the parentheses
( ), we place the condition.Inside the curly braces
{ }, we write the statements that will run only when the condition is true.
Materials for the Project
| Component | Quantity | Buy Link |
|---|---|---|
| Arduino Uno | 1 | Buy Here |
| Push Button | 1 | Buy Here |
| LED (Red) | 1 | Buy Here |
| Resistor 10kΩ | 1 | Buy Here |
| Resistor 100Ω | 1 | Buy Here |
| Breadboard | 1 | Buy Here |
| Jumper Wires | As needed | Buy Here |
Connections:
Push button → one pin to D2 of Arduino, other pin to Positive.
10kΩ resistor between D2 and GND (pull-down resistor).
LED → Anode to D3, Cathode through 100Ω resistor to GND.
- So we have completed the circuit.

Example Code (if statement)
int buttonPin = 2;
int ledPin = 3;
void setup() {
pinMode(buttonPin, INPUT);
pinMode(ledPin, OUTPUT);
}
void loop() {
if (digitalRead(buttonPin)) {
digitalWrite(ledPin, HIGH);
delay(1000);
digitalWrite(ledPin, LOW);
delay(1000);
}
}
Working:
When the button is pressed (D2 goes HIGH), the LED blinks with 1 second ON and 1 second OFF.
When the button is released, the LED stops blinking.
Example 2: Toggling an LED using if
Here we add a boolean variable to toggle the LED state on every button press.
int buttonPin = 2;
int ledPin = 3;
bool state = 0;
void setup() {
pinMode(buttonPin, INPUT);
pinMode(ledPin, OUTPUT);
}
void loop() {
if (digitalRead(buttonPin) && !state) {
digitalWrite(ledPin, !digitalRead(ledPin));
state = 1;
}
if (!digitalRead(buttonPin)) {
state = 0;
}
}
Working:
Press the button once → LED turns ON.
Release and press again → LED turns OFF.
This way, the button toggles the LED state.
The if-else Statement
Syntax.
if (condition) {
// statements if condition is true
}
else {
// statements if condition is false
}
This adds an else block to run alternative commands when the if condition is not true.
Example Circuit (if-else statement)
Connections:
Push button → one pin to D2 of Arduino, other pin to Positive.
10kΩ resistor between D2 and GND (pull-down resistor).
LED → Anode to D3, Cathode through 100Ω resistor to GND.
- LED → Anode to 43, Cathode through 100Ω resistor to GND.
- So we have completed the circuit.

Example Code (if-else statement)
int buttonPin = 2;
int led1 = 3;
int led2 = 4;
void setup() {
pinMode(buttonPin, INPUT);
pinMode(led1, OUTPUT);
pinMode(led2, OUTPUT);
}
void loop() {
if (digitalRead(buttonPin)) {
digitalWrite(led1, HIGH);
delay(1000);
digitalWrite(led1, LOW);
delay(1000);
}
else {
digitalWrite(led2, HIGH);
delay(1000);
digitalWrite(led2, LOW);
delay(1000);
}
}
Working:
When button is pressed → LED1 blinks.
When button is released → LED2 blinks.
The switch-case Statement
Syntax.
switch(variable) {
case value1:
// statements
break;
case value2:
// statements
break;
default:
// optional, if no case matches
}
A switch compares a variable against multiple values.
Each case block runs when the variable matches.
break;is used to exit the case.
Example Circuit (switch-case statement)
Connections:
Push button → one pin to D2 of Arduino, other pin to Positive.
10kΩ resistor between D2 and GND (pull-down resistor).
LED → Anode to D3, Cathode through 100Ω resistor to GND.
- LED → Anode to 43, Cathode through 100Ω resistor to GND.
- So we have completed the circuit.
Example Code (switch-case statement)
int buttonPin = 2;
int led1 = 3;
int led2 = 4;
int count = 0;
bool state = 0;
void setup() {
pinMode(buttonPin, INPUT);
pinMode(led1, OUTPUT);
pinMode(led2, OUTPUT);
}
void loop() {
if (digitalRead(buttonPin) && state == 0) {
count++;
if (count > 5) count = 0;
state = 1;
}
if (!digitalRead(buttonPin)) {
state = 0;
}
switch (count) {
case 1:
digitalWrite(led1, HIGH);
delay(500);
digitalWrite(led1, LOW);
delay(500);
break;
case 2:
digitalWrite(led2, HIGH);
delay(500);
digitalWrite(led2, LOW);
delay(500);
break;
case 3:
digitalWrite(led1, HIGH);
delay(500);
digitalWrite(led1, LOW);
digitalWrite(led2, HIGH);
delay(500);
digitalWrite(led2, LOW);
break;
case 4:
digitalWrite(led1, HIGH);
digitalWrite(led2, HIGH);
delay(500);
digitalWrite(led1, LOW);
digitalWrite(led2, LOW);
delay(500);
break;
case 5:
digitalWrite(led1, HIGH);
digitalWrite(led2, HIGH);
break;
}
}
Working:
Each press of the button changes the mode (count).
Mode 1 → LED1 blinks
Mode 2 → LED2 blinks
Mode 3 → LEDs blink one by one
Mode 4 → LEDs blink together
Mode 5 → Both LEDs stay ON
Conclusion
In this tutorial, we learned about Arduino conditional statements and saw practical examples of:
if statement – running commands when a condition is true.
if-else statement – choosing between two conditions.
switch-case statement – selecting between multiple cases.
These commands are fundamental in programming and allow us to build projects that respond to inputs and make decisions.
That’s it for today’s project! I hope you enjoyed this tutorial. Stay tuned for the next one in this series.