
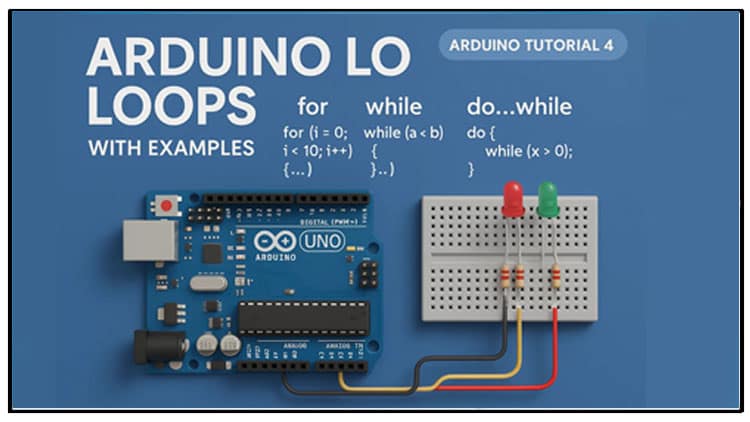
In the previous project (Tutorial 3), we learned In this Arduino tutorial, we will explore Arduino loops, their syntax, and practical examples. Learn how to use for loop, while loop, and do while loop in Arduino programming with step-by-step circuits, Arduino code, and explanations for beginners.
Introduction
Hi friends!
In the previous tutorial of this Arduino series, we learned how to use digital pins of Arduino as input and created some basic projects.
In this project, we are going to explore one of the most important programming concepts: loops in Arduino. Loops allow us to repeat commands and control the flow of our program effectively. Along the way, we’ll also build simple circuits and upload working codes to the Arduino.
So, without further delay, let’s dive into Arduino loops and make some example projects.
Before We Begin: Variables in Arduino
Before learning about loops, it’s important to understand variables, because loops often use them.
A variable is a container for storing data.
It has:
Name → identifier (e.g.,
i)Type → data type (e.g.,
int)Value → stored data (e.g.,
0)
Example:
int→ Type (integer)i→ Name of the variable0→ Value
Key Notes on Variables:
Variables must be declared before use.
Default value of an uninitialized variable is
0.Different types of variables can store different forms of data (integer, float, character, etc.).
What Are Loops?
A loop is a program structure that repeats a set of commands until a specific condition is met.
In Arduino, we commonly use three types of loops:
for loop
while loop
do…while loop
Each has its own syntax and use case, which we’ll discuss with examples.
The for Loop in Arduino.
Syntax:
Initialization → Set starting point (e.g.,
int i = 0)Condition → Loop continues until this condition is false (e.g.,
i < 5)Increment/Decrement → Updates the variable (e.g.,
i++)
Example 1: Blinking LED with for Loop
let’s make an example circuit and program to better understand for loop.
Materials for the Project
| Component | Quantity | Buy Link |
|---|---|---|
| Arduino UNO | 1 | Buy Here |
| LED (5mm) | 1 | Buy Here |
| 100Ω Resistor | 1 | Buy Here |
| Breadboard | 1 | Buy Here |
| Jumper Wires | As needed | Buy Here |
Circuit Diagram Explanation

Connect Arduino 5V pin → Breadboard positive rail.
Connect Arduino GND pin → Breadboard negative rail.
Connect LED anode (long pin) → Arduino pin D2.
Connect LED cathode → One end of 100Ω resistor → other end of resistor → GND.
- First connect the positive supply rail of the breadboard to 5 volt pin of arduino.
- Now connect the negative supply rail of the breadboard to ground pin of the arduino.
- Now connect an led and connect its anode to pin d2 of arduino.
- Now connect 100 ohm resistor and connect its one pin to cathode of led and its other pin to ground.
- So we have completed the circuit.
Example Code:
Example 2: Multiple LEDs with for Loop.
Materials for the Project
| Component | Quantity | Buy Link |
|---|---|---|
| Arduino UNO | 1 | Buy Here |
| LED (5mm) | 6 | Buy Here |
| 100Ω Resistors | 6 | Buy Here |
| Breadboard | 1 | Buy Here |
| Jumper Wires | As needed | Buy Here |
Circuit Diagram Explanation.
let’s make another example circuit.
Connect 6 LEDs to pins D2, D3, D4, D5, D6, D7 of Arduino.
Each LED cathode is connected to GND through a 100Ω resistor.
- First connect the positive supply rail of the breadboard to 5 volt pin of arduino.
- Now connect the negative supply rail of the breadboard to ground pin of the arduino.
- Now connect an led and connect its anode to pin d2 of arduino.
- Now connect 100 ohm resistor and connect its one pin to cathode of led and its other pin to ground.
- Now connect another led and connect its anode to pin d3 of arduino.
- Now connect 100 ohm resistor and connect its one pin to cathode of led and its other pin to ground.
- Now connect another led and connect its anode to pin d4 of arduino.
- Now connect 100 ohm resistor and connect its one pin to cathode of led and its other pin to ground.
- Now connect another led and connect its anode to pin d5 of arduino.
- Now connect 100 ohm resistor and connect its one pin to cathode of led and its other pin to ground.
- Now connect another led and connect its anode to pin d6 of arduino.
- Now connect 100 ohm resistor and connect its one pin to cathode of led and its other pin to ground.
- Now connect another led and connect its anode to pin d7 of arduino.
- Now connect 100 ohm resistor and connect its one pin to cathode of led and its other pin to ground.
- So we have completed the circuit.

Example Code:
void setup() {
for (int i = 2; i < 8; i++) {
pinMode(i, OUTPUT);
}
}
void loop() {
for (int i = 2; i < 8; i++) {
digitalWrite(i, HIGH);
delay(1000);
digitalWrite(i, LOW);
delay(1000);
}
}
In this example:
All pins D2 to D7 are set as outputs in a for loop inside
setup().Then, each LED is turned ON and OFF one by one in the
loop()function.
Practical Uses of Loops in Arduino
Controlling multiple LEDs or outputs.
Reading sensor data repeatedly.
Running time delays in structured patterns.
Automating tasks like motors, relays, buzzers.
FAQs on Arduino Loops
Q1: What is the difference between for and while loops?
for→ Used when the number of iterations is known.while→ Used when the iterations depend on a condition.
Q2: Which loop guarantees at least one execution?
do…whileloop.
Q3: Can we use nested loops in Arduino?
Yes, loops can be placed inside one another for advanced tasks.
Q4: Why should I use loops instead of writing repeated code?
Loops reduce program size, improve readability, and make code efficient.
Q5: Can loops cause Arduino to freeze?
Yes, if the condition never becomes false, the loop can become infinite. Always design carefully.
Conclusion
In this tutorial, we explored Arduino loops in detail.
We started by understanding variables.
We then studied for loop, while loop, and do…while loop with real examples.
We built practical circuits using LEDs and push buttons.
Loops are fundamental in Arduino programming. They help us repeat tasks, save time, and create efficient projects. Mastering loops will make you confident in handling bigger and more complex Arduino projects.