

Battery Level Indicator Circuit for Beginners (No IC, No Code)
Monitoring battery voltage is essential in many electronics projects, especially when using rechargeable batteries. In this tutorial, we’ll show you how to build a simple battery level indicator using just LEDs and 470-ohm resistors, without any ICs, microcontrollers, or coding.
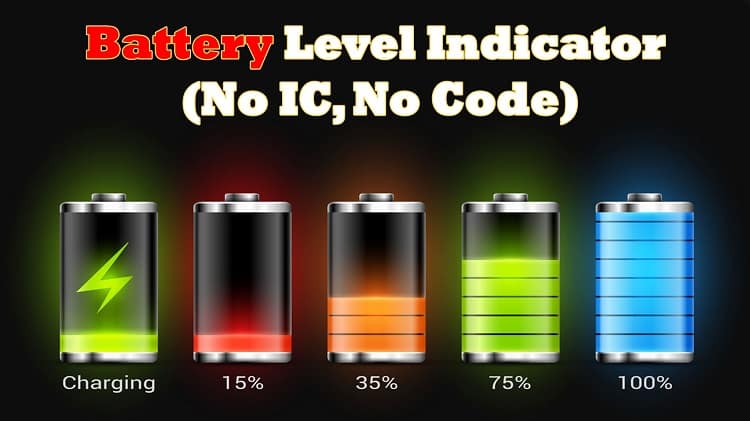
This basic circuit provides a visual indication of battery charge level. As the battery voltage increases, more LEDs light up, giving you a quick idea of how full or low your battery is.
It’s an excellent project for beginners, ideal for DC battery setups, solar circuits, DIY electronics, or anyone looking to learn the basics of voltage and LED behavior.
Let’s dive in and make your own battery level indicator!
Materials for the Project
| Component | Value | Quantity |
|---|---|---|
| LEDs | Red, Yellow, Green | 3–5 |
| Resistors | 470Ω (all same) | 3–5 |
| Battery | 6V / 9V / 12V DC | 1 |
| Switch (optional) | SPST or push button | 1 |
| Wires | – | As needed |
Download Circuit Diagram
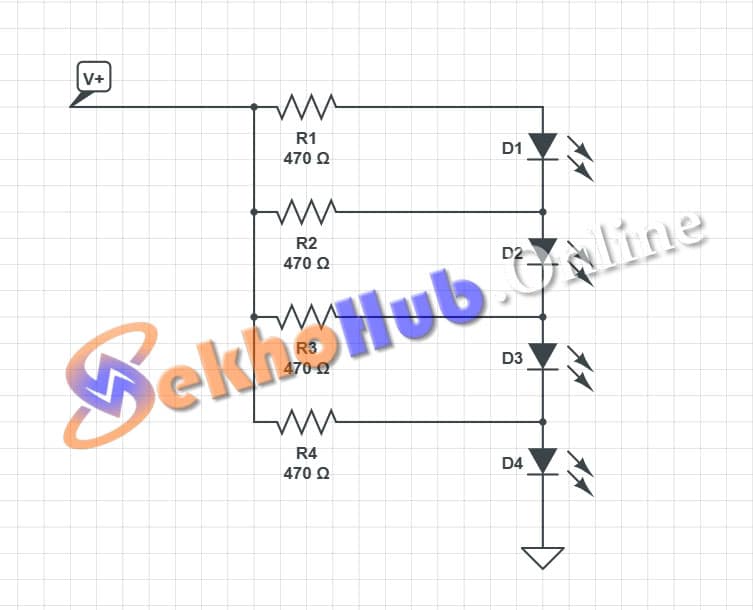
Working Explanation – Battery Level Indicator
This circuit uses LEDs and resistors to visually show different battery voltage levels. No IC, microcontroller, or programming is used—just the voltage divider principle and forward voltage of LEDs.