
 ESP32 OLED Weather Station with Real-Time Forecast.
 ESP32 OLED Weather Station with Real-Time Forecast.
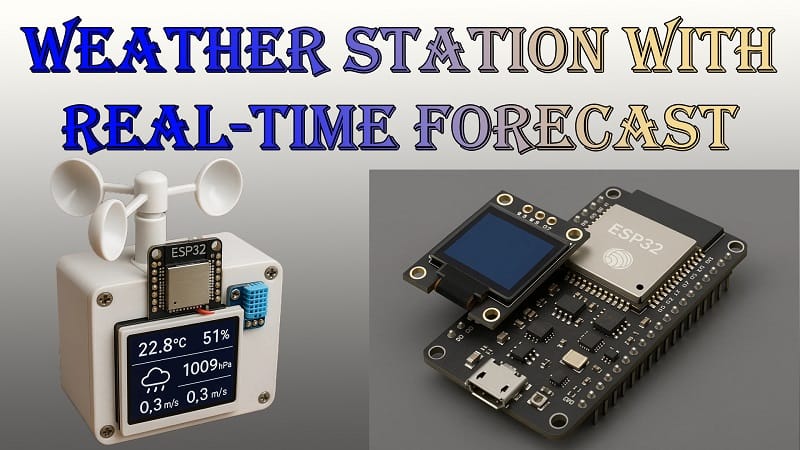
Build a sleek and modern weather station using an ESP32 board with a built-in 0.96″ OLED screen. This project fetches live weather data and 3-day forecasts from OpenWeatherMap and displays it in a stylish sliding UI, complete with icons, temperature, weather description, and date/time. It’s an ideal IoT project to demonstrate API integration, Wi-Fi networking, and display handling.
Materials for the Project
- 1x ESP32 Board Thingspark With built-in 0.96″ OLED (I2C)
- 1x Micro USB Cable For programming and power
- 1x Wi-Fi Network 2.4GHz for ESP32 connection
- 1x Computer with Arduino IDE IDE version 1.8.19 or later
Step-by-Step Guide.
Download the Arduino IDE software from its official site. Here is a step-by-step guide on “How to install Arduino IDE“.
(2) ESP32 in Arduino IDE.
There’s an add-on that allows you to program the ESP32 using the Arduino IDE. Here is a step-by-step guide on “How to Install ESP32 on Arduino IDE“.
(3) Register OpenWeatherMap and get API key
- Sign up for a new OpenWeatherMap account:
https://home.openweathermap.org/users/sign_up
2. Get OpenWeatherMap API keys for “Project 1: Weather Station.”
https://home.openweathermap.org/users/sign_in

(4) Download Code File.
Download the code files from the link given below. Locate the “WeatherStation” Tab.
Replace the “********” in the WiFi_Name with your WiFi name. Replace the “********” in the WiFi_Password with your WiFi password.
Download code

(4) Update OpenWeatherMap API Keys.
Locate “WeatherStation” tab, and Replace the “******” in the OPEN_WEATHER_MAP_APP_ID with your
OpenWeatherMap API keys, which you registered in the previous preparations.

(5) Wiring/Connections
| ESP32 GPIO Pin | OLED Function | Note |
|---|---|---|
| GPIO 21 (D21) | SDA | I2C Data line |
| GPIO 22 (D22) | SCL | I2C Clock line |
| GND | GND | Ground connection |
| 3.3V | VCC | Power supply for OLED |
What the Code Does
Key Features:
- Connects ESP32 to your Wi-Fi network
- Uses NTP to get accurate date & time
- Fetches current weather and a 3-day forecast via OpenWeatherMap API
- Displays:
- Temperature with icons (sun, cloud, rain, etc.)
- Weather description (e.g., “clear sky”)
- Day/date and time
- Automatically updates every 20 minutes
How the UI Works:
- Uses the
OLEDDisplayUilibrary to create a sliding frame animation - Frames:
- Date & Time
- Current Weather
- 3-Day Forecast
- The overlay at the bottom shows:
- Clock on the left
- Temperature on the right
Essential Code Behavior
WiFi connection:
WiFi.begin(WiFi_Name, WiFi_Password); Time sync via NTP:configTime(TZ_SEC, DST_SEC, "pool.ntp.org"); API requests (OpenWeatherMap):currentWeatherClient.updateCurrentById(...);
forecastClient.updateForecastsById(...); UI management:ui.setFrames(frames, numberOfFrames);
ui.setOverlays(overlays, numberOfOverlays);
ui.init(); Weather update every 20 minutes:if (millis() - timeSinceLastWUpdate > (1000L*UPDATE_INTERVAL_SECS)) {
setReadyForWeatherUpdate();
}This project is a beautiful blend of IoT, graphics, and real-time data. It’s perfect for a home dashboard, IoT showcase, or classroom demo to teach weather APIs and embedded displays.