
This AC 5 in 1 meter project using Arduino is a practical build for electronics enthusiasts. With this AC 5 in 1 meter, you can measure AC voltage, AC current, frequency, power, and energy accurately. The AC 5 in 1 meter works with LM358 IC, CT sensor, resistors, and an LCD display. This AC 5 in 1 meter circuit is simple and effective.
The AC 5 in 1 meter is compact, reliable, and affordable. The AC 5 in 1 meter uses Arduino for data processing. The AC 5 in 1 meter can be used in DIY lab setups. With this AC 5 in 1 meter, you can monitor electrical parameters in real time. The AC 5 in 1 meter is beginner-friendly for electrical hobbyists.
Introduction
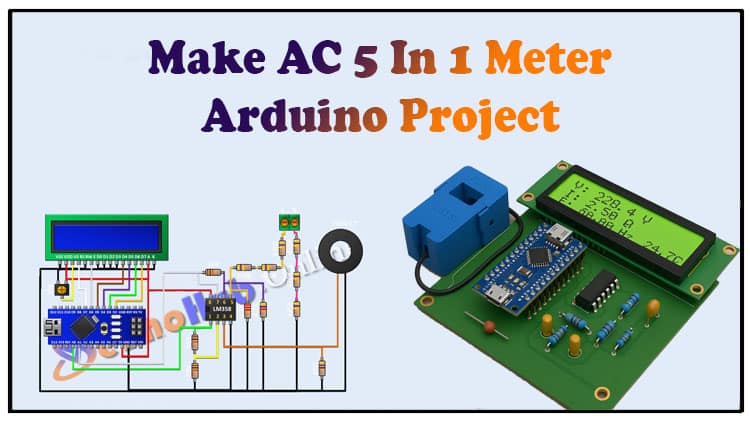
Hi friends, in this project, I’m going to show you how to make an AC 5 in 1 meter using an Arduino.
This meter allows you to measure:
AC Voltage
AC Current
Frequency
Power
Energy
It’s a handy DIY instrument for hobbyists, students, and engineers who want to monitor electrical parameters in a small, low-cost setup. Unlike bulky commercial energy meters, this circuit uses an Arduino, LM358 IC, resistors, a current transformer (CT), and a simple LCD display to deliver accurate readings in real time.
Materials for the Project
| Component | Quantity | Description | Buy Link |
|---|---|---|---|
| Arduino Nano | 1 | Main microcontroller | Buy |
| LM358 IC | 1 | Dual operational amplifier | Buy |
| Current Transformer (CT) | 1 | For current measurement (e.g., SCT-013) | Buy |
| LCD 16×2 Display | 1 | For displaying measured values | Buy |
| 470kΩ Resistors | 6 | For voltage divider | Buy |
| 10kΩ Resistors | 2 | For feedback and biasing | Buy |
| 4.7kΩ Resistor | 1 | For signal conditioning | Buy |
| 2.2kΩ Resistor | 1 | For filtering | Buy |
| 47Ω Resistor | 1 | For grounding reference | Buy |
| 10kΩ Potentiometer | 1 | LCD contrast adjustment | Buy |
| Two-Pin Terminal Block | 1 | For AC input connection | Buy |
| Breadboard & Wires | – | For connections | Buy |
Useful Tools
| Tool | Quantity | Purpose / Notes | Click & Buy |
|---|---|---|---|
| Soldering Iron Kit | 1 | For making permanent connections | Click & Buy |
| Solder Wire (60/40, 0.8mm) | 1 | Electrical soldering | Click & Buy |
| Wire Stripper & Cutter | 1 | Stripping jumper wires | Click & Buy |
| Mini Screwdriver Set | 1 | For module and relay terminal screws | Click & Buy |
| Multimeter | 1 | Testing voltages and continuity | Click & Buy |
| Hot Glue Gun (optional) | 1 | Securing components in place | Click & Buy |
| Small Pliers | 1 | Holding and bending wires | Click & Buy |
| Heat Shrink Tubing Set | 1 | Insulating exposed wires | Click & Buy |
Circuit Diagram Explanation
The circuit of the AC 5 in 1 meter is divided into three main sections:
Voltage Sensing Section
Built using multiple 470kΩ resistors in a divider arrangement.
The divider reduces the AC mains voltage down to a safer level (within Arduino’s 5V ADC range).
LM358 IC conditions this signal for proper measurement.
Current Sensing Section
A current transformer (CT) is used to sense load current.
Its small output signal is fed into the LM358 IC, which amplifies and filters it before sending to Arduino.
Arduino Processing & Display Section
Arduino Uno processes the signals, calculates voltage, current, frequency, power, and energy, and then sends the results to the 16×2 LCD display.
A 10k potentiometer adjusts LCD contrast.
Note: Always use isolation and safety precautions when connecting AC mains. The resistor divider only reduces voltage for measurement it does not isolate the circuit.

Step-by-Step Guide
Step 1: Arduino & Power Connections
Connect the Arduino Nano to the breadboard.
The 5V pin of Arduino will power the LM358 IC and LCD display.
Step 2: LM358 Voltage Conditioning Circuit
Connect pin 8 of LM358 to 5V and pin 4 to GND.
Connect pin 7 of LM358 to Arduino A1.
Connect pin 1 of LM358 to Arduino A0.
Add a 10kΩ resistor between pin 1 and pin 2.
Add another 10kΩ resistor between pin 2 and ground.
Connect a 47Ω resistor between pin 3 and ground.
Connect CT sensor output between pin 3 and ground.
Step 3: Feedback and Filtering
Connect a 10kΩ resistor between pin 7 and pin 6.
Connect a 4.7kΩ resistor between pin 6 and ground.
Connect a 2.2kΩ resistor between pin 5 and ground.
Step 4: Voltage Divider Network
Connect a two-pin terminal block for AC input.
Build the voltage divider using six 470kΩ resistors:
Series connection to step down mains voltage.
One branch to LM358 input (pin 5).
Other branch to ground for reference.
Step 5: LCD Display Wiring
Connect LCD pins 1, 5, 7–10, and 16 to ground.
Connect pins 2 and 15 to Arduino 5V.
Connect pin 4 to Arduino D7.
Connect pin 6 to Arduino D6.
Connect pin 11 to Arduino D5.
Connect pin 12 to Arduino D4.
Connect pin 13 to Arduino D3.
Connect pin 14 to Arduino D2.
Step 6: Potentiometer for LCD Contrast
Connect one end of 10k potentiometer to 5V, the other to ground.
Connect the middle pin to LCD pin 3.
Step 7: Upload & Test
Once wiring is complete, upload the Arduino sketch (your own code).
Power the Arduino and connect a small AC load.
Observe readings for voltage, current, frequency, power, and energy.
Arduino Code
Testing & Calibration
Use a multimeter to compare the Arduino readings with actual measurements.
Adjust resistor values in the voltage divider if scaling is inaccurate.
Calibrate CT sensor output by modifying calculation constants in your Arduino code.
Ensure LCD contrast is properly set for clear display.
Applications
The AC 5 in 1 meter can be used in:
DIY lab power monitoring setups.
Home energy consumption analysis.
Educational electronics projects.
Measuring parameters of small AC appliances.
Low-cost alternative to commercial power meters.
FAQs
Q1: What is an AC 5 in 1 meter?
It’s an Arduino-based meter that measures AC voltage, current, frequency, power, and energy in one device.
Q2: Which IC is used in this project?
The project uses LM358, a dual operational amplifier, for signal conditioning.
Q3: Can this project be used for 220V mains?
Yes, but proper isolation and safety precautions are required. Use CT sensors and high-value resistors.
Q4: Can I use an Arduino Nano instead of Uno?
Yes, Arduino Nano works perfectly and saves space.
Q5: How accurate is this meter?
With proper calibration, accuracy is good enough for DIY and educational purposes, though not as precise as industrial meters.