
How To Make an Arduino-Based 4-in-1 Digital Meter (Volt, Ampere, Watt, and Ampere-Hour)
[Sekhohub.online]
Are you interested in building a versatile power monitoring device?
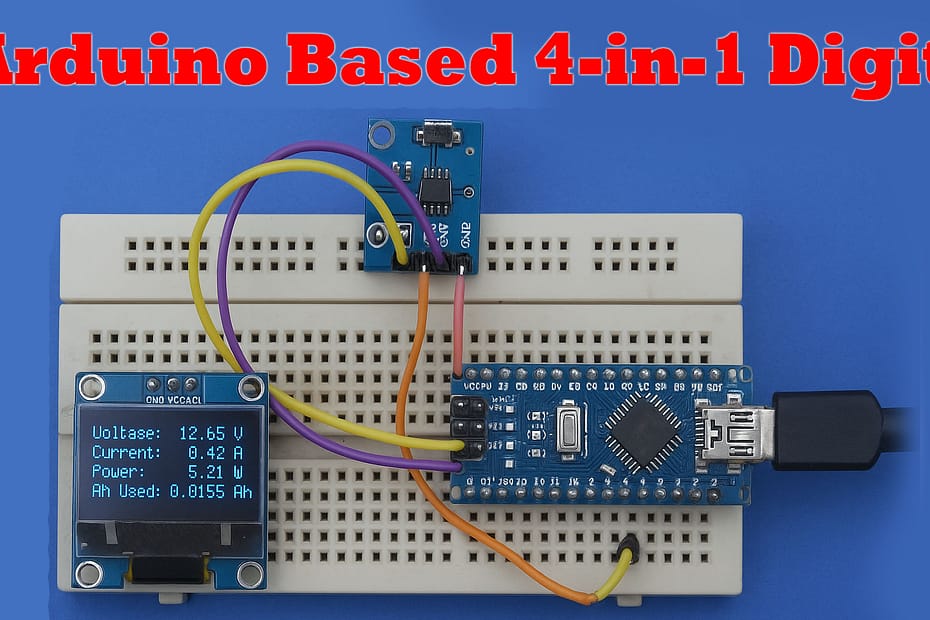
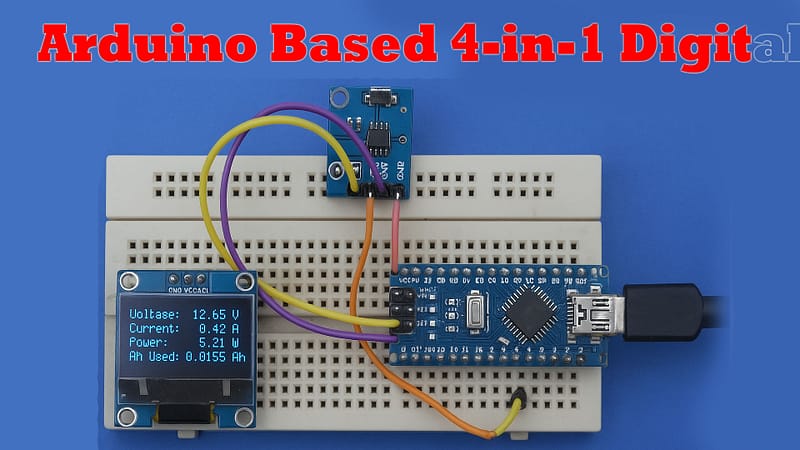
In this tutorial, we will guide you step-by-step on creating a compact, accurate, and functional digital meter using Arduino. This device can measure voltage, current, power, and accumulated current (ampere-hour), displayed on an OLED screen.
Materials for the Project
- 1x ARDUINO NANO
- 1x 16X2 LCD
- 1x ACS712 (30A) MODULE
- 1x 10K TRIMPOT
- 1X 2K RESISTOR
- 1X 47K RESISTOR
- 2X 2-PIN TERMINAL BLOCKS
- 1X PERF BOARD
- JUMPER WIRES
Download Circuit Diagram

Circuit Diagram
Gerber Files
Arduino files
Calibration Tips
Voltage: Measure with a multimeter, and adjust the resistor ratio or calibration factor.
Current: Ensure ACS712 is zero-offset at no load.
Ah: Keep Arduino powered for continuous tracking or use EEPROM for backup logging.
Applications
✅ DC Load Monitoring
✅ Solar Charging System
✅ Battery Capacity Tester
✅ Power Usage Logger