How To Make NeoPixel LED Controller Arduino [Sekhohub]
Hi friends today I’m going to build an addressable RGB LED controller using Arduino. With this controller, we can change the color and the running effect of the RGB LEDs, and we can also change the running speed of the LEDs and the number of LEDs we want to control with this controller, so without further ado, let’s get started.
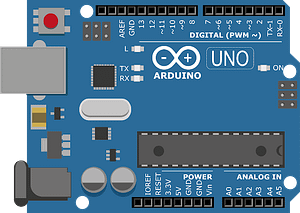
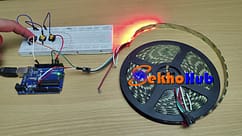
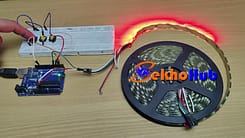
So we are going to use uino to control the WS2812 LED strip light. I am using Arduino Uno; you can use Arduino Nano, Arduino Pro Mini, or any other Arduino. We are also going to use three buttons: one for speed control, one for changing the color, and one for changing the effect. And one more thing: we need to change the number of LEDs we are going to use with this controller.
![]()
Components.
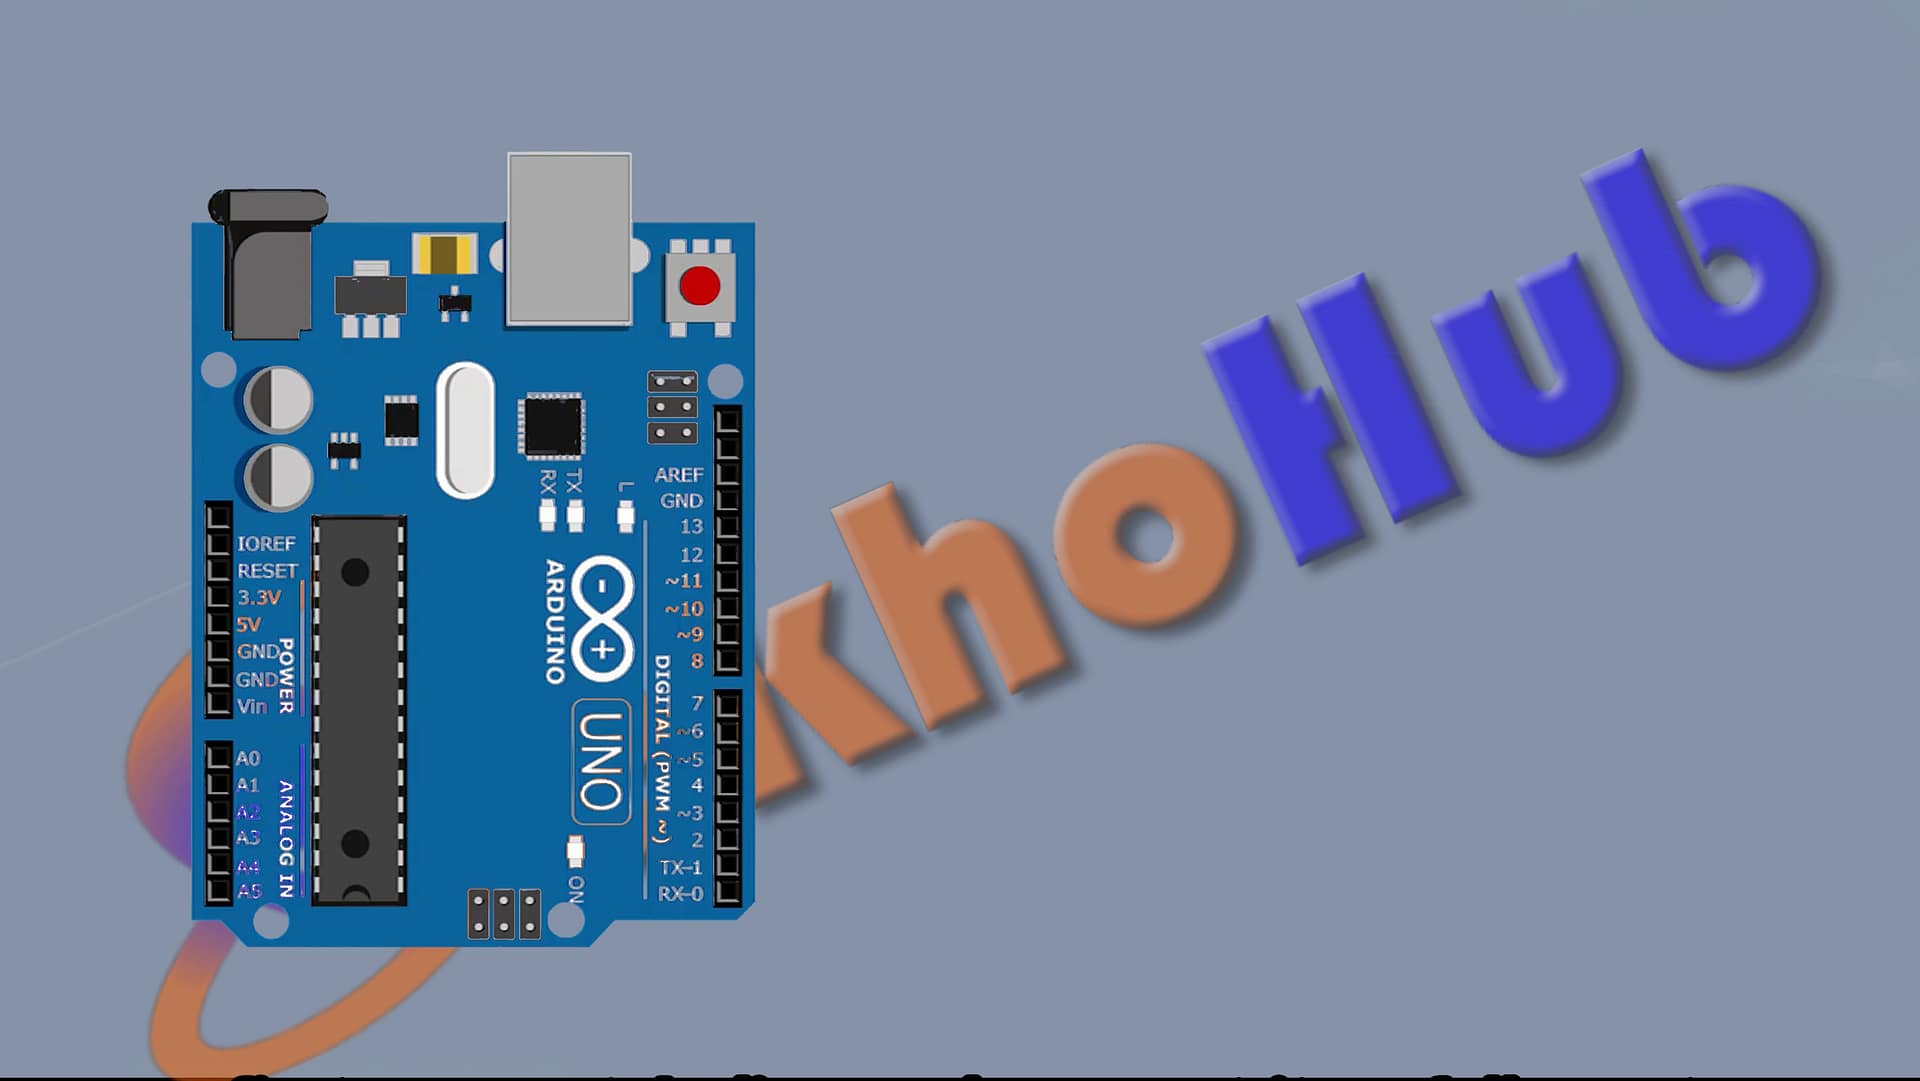
1 X Arduino Uno
3 x Push Button
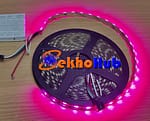
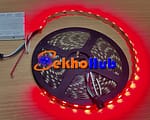
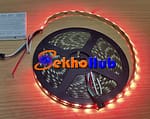
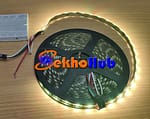
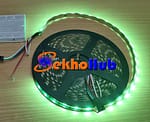
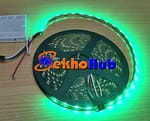
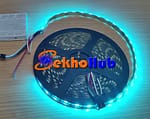
1X NeoPixel Lights:
1X 5V Power Supply
JUMPER WIRES
Let’s see the connections of the project.
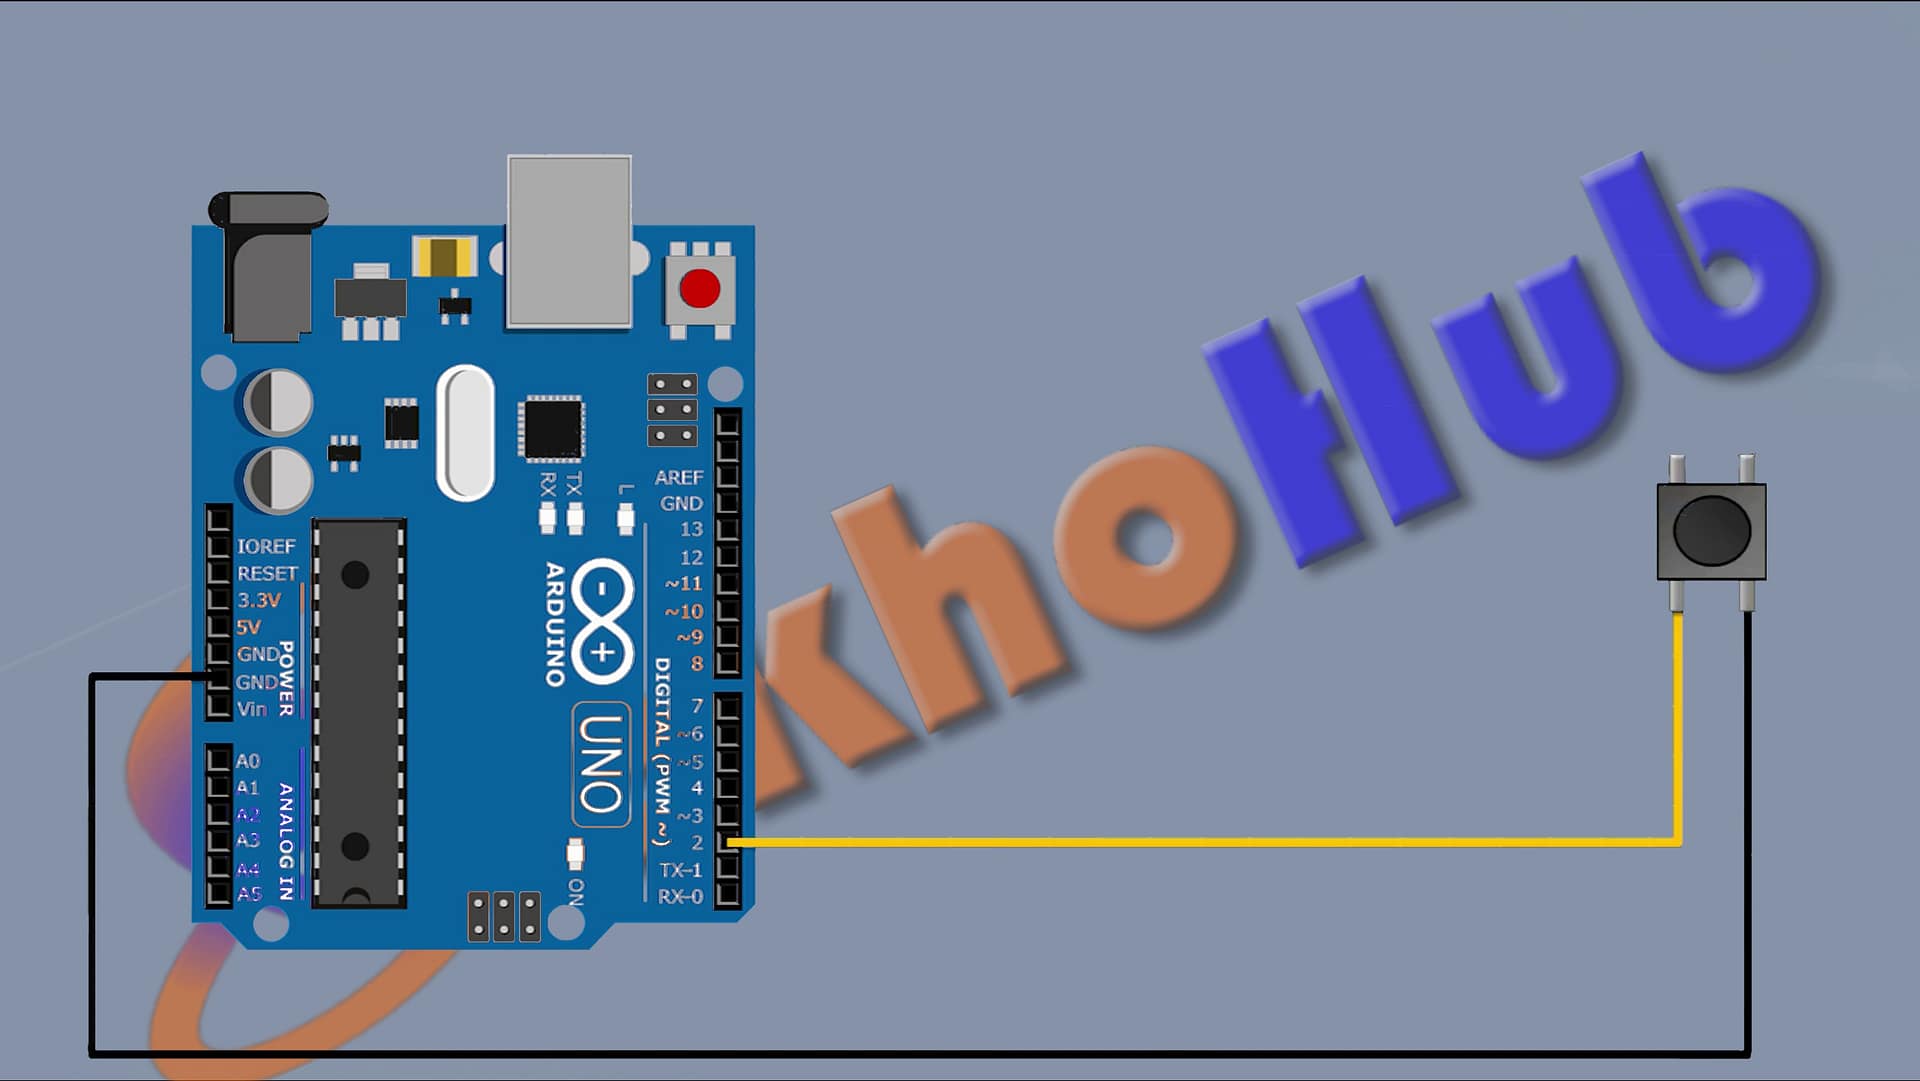
First Connect Arduino and connect its fivefold pin to the fivefold supply and its ground to ground.

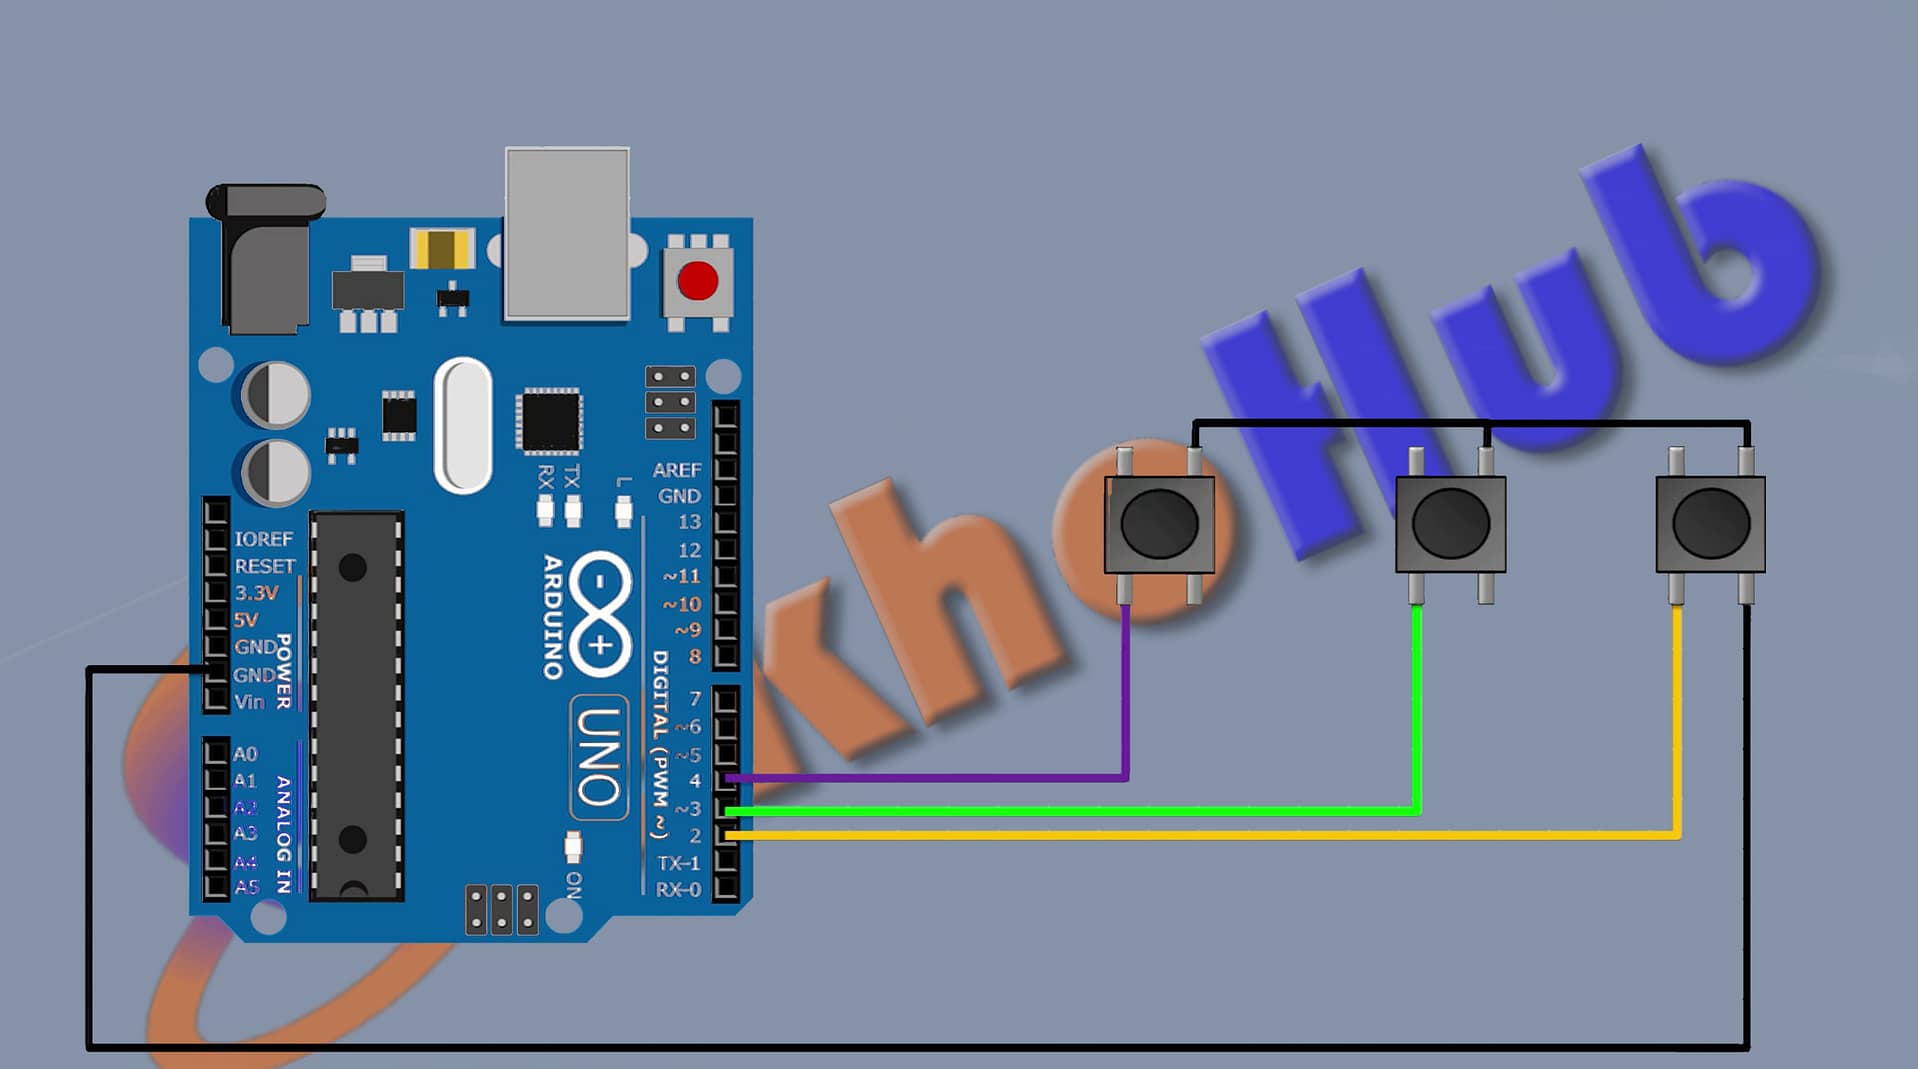
- Now connect a push button and connect its one pin to pin D2 of Arduino and its other pin to ground. This button is for speed control.
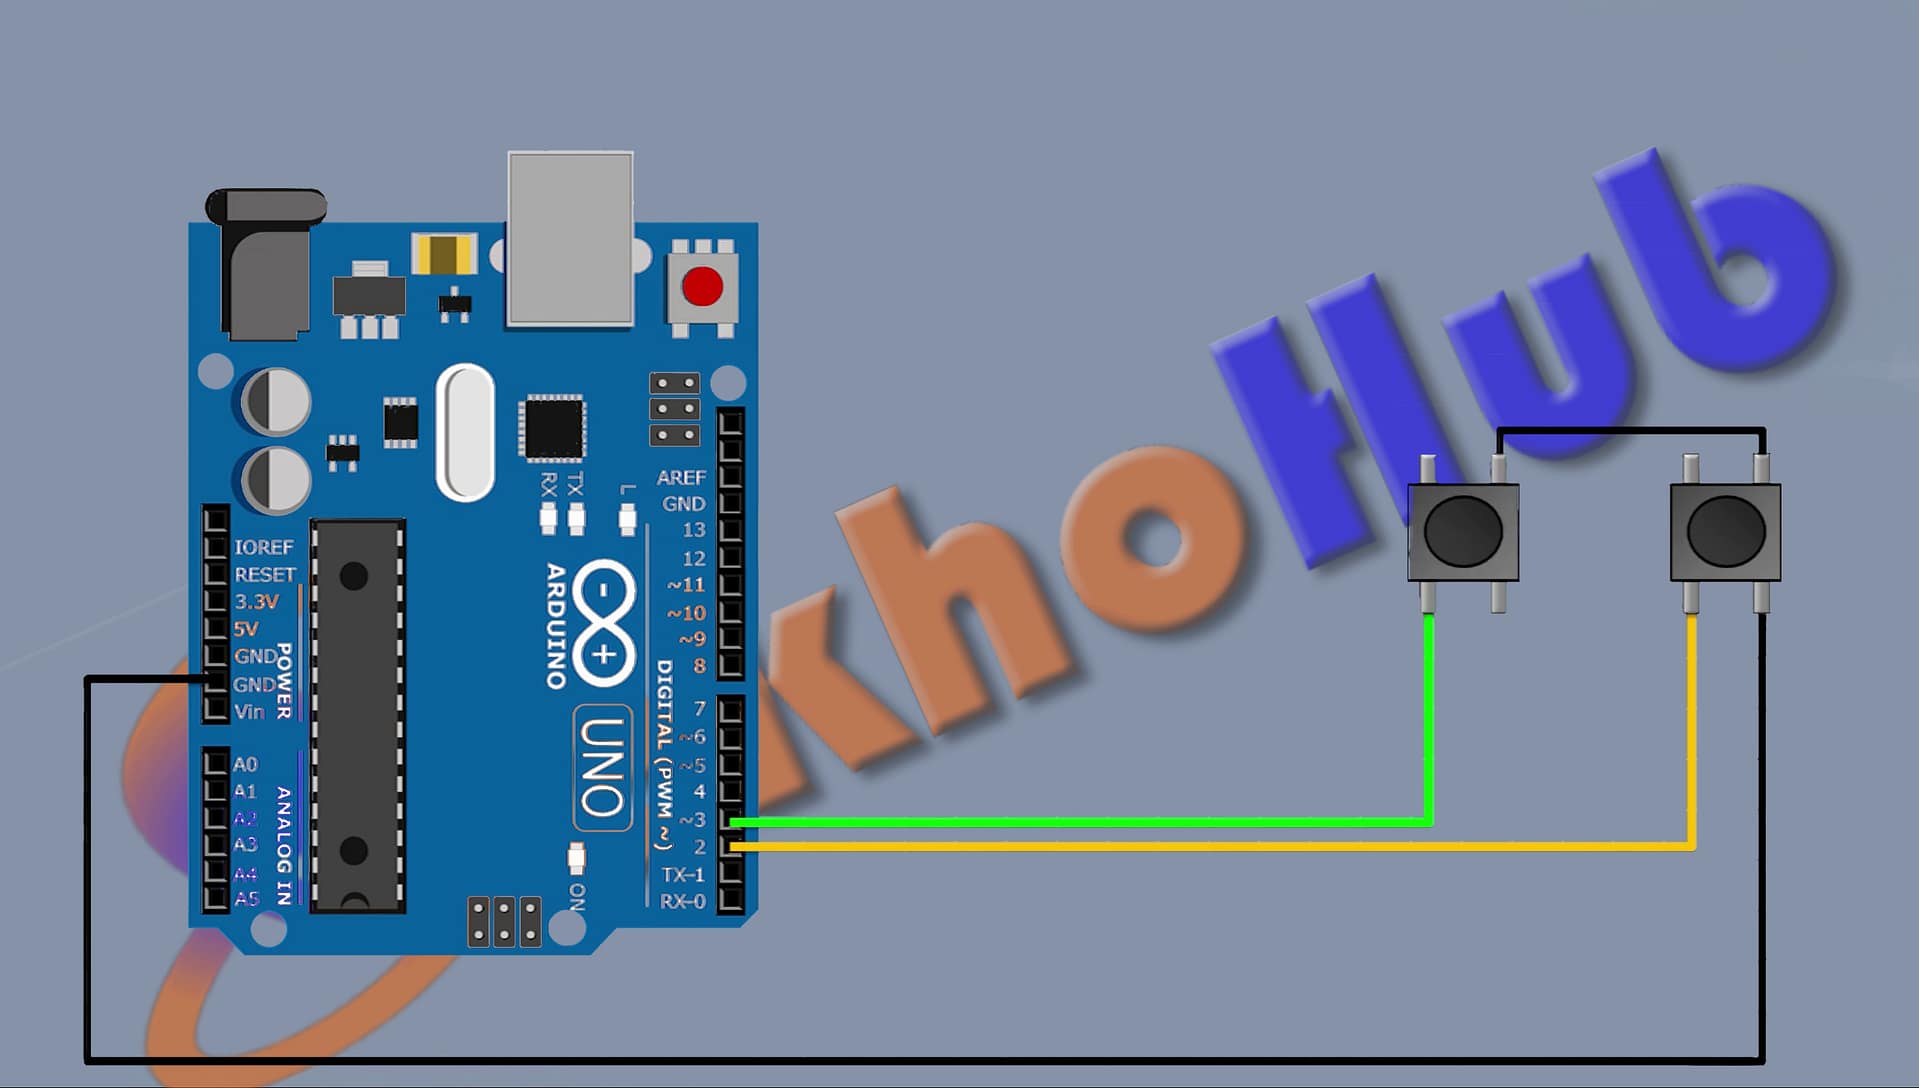
- Now connect another push button and connect its one pin to pin D3 of the Arduino and its other pin to ground. This button is for changing the color.

- Now connect another push button and connect its one pin to pin D4 of the Vino and its other pin to ground. This button is for changing the effect.

- Then connect the addressable light and connect its VCC pin to the 5f pin of the Arduino, its ground pin to ground, and its data pin to the D6 pin of the Arduino. So these were the connections.
- Now let’s upload the code to Arduino. Before uploading the code, we need to install the Adafruit NeoPixel library. Simply go to the library manager and search for Arduino NeoPixel and install the library. Now let’s upload the code to Arduino.
| The Test Project |
Now let’s change the speed with this. The button can change the speed.

Now let’s change the color; with this button we can change the color. the controller also has an autocolor-changing feature.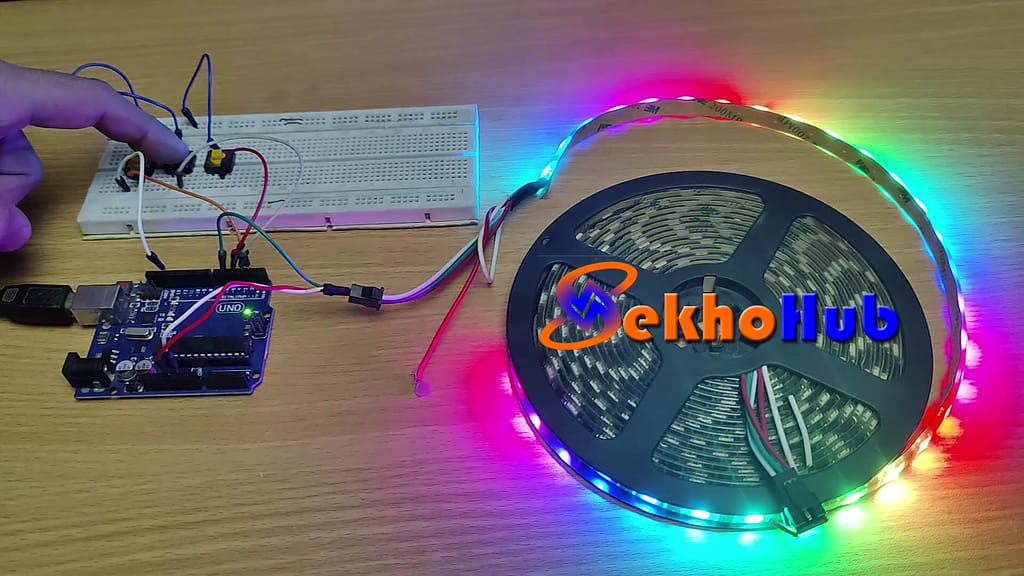
Now let’s change the effect. With this button we can change the effect.
.