

Smart Object Counter | 7 Step Arduino Project Guide with OLED & Relay
A Smart Object Counter is a useful project for industries, classrooms, and automation setups. This Smart Object Counter uses Arduino Nano, an IR sensor, OLED display, and a relay to count objects and control devices automatically. The Smart Object Counter works by detecting objects passing in front of an IR sensor, displaying the count on an OLED screen. With push buttons, the Smart Object Counter can reset, adjust values, or trigger actions manually.
The relay module in this Smart Object Counter allows switching of external devices like motors, alarms, or lamps. This Smart Object Counter project is simple, low-cost, and reliable. Anyone can build the Smart Object Counter with basic electronics skills. In this article, you’ll learn the Smart Object Counter circuit diagram, code, working principle, and real-life applications of the Smart Object Counter.
Introduction
In modern automation and industrial systems, counting objects is a vital task. From packaging lines to classroom attendance counters, object counters save both time and labor.
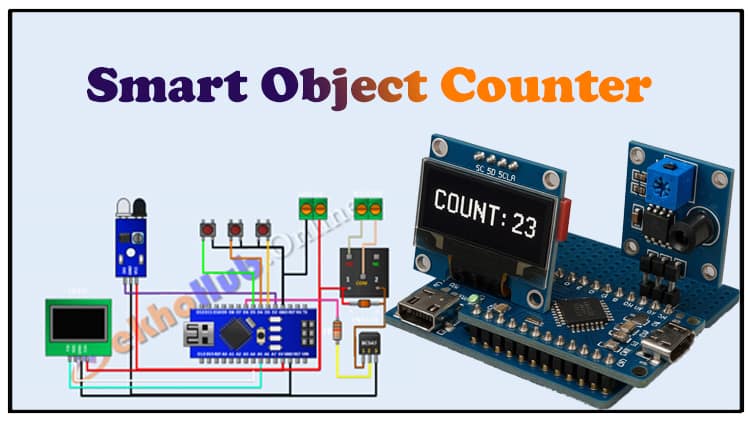
In this project, we’ll design a Smart Object Counter using Arduino Nano. It uses:
An IR sensor to detect objects,
An OLED display to show the count,
Push buttons for manual control,
A relay module to activate external devices when a set count is reached.
This project is compact, efficient, and can be adapted for multiple real-world applications.
Materials for the Project
| No. | Component | Quantity | Buy Link |
|---|---|---|---|
| 1 | Arduino Nano | 1 | Buy Arduino Nano |
| 2 | IR Sensor Module | 1 | Buy IR Sensor |
| 3 | OLED Display (I2C) | 1 | Buy OLED Display |
| 4 | Push Button Switches | 3 | Buy Push Buttons |
| 5 | Relay Module (5V) | 1 | Relay Info |
| 6 | Transistor BC547 | 1 | Buy BC547 |
| 7 | Diode 1N4148 | 1 | Buy 1N4148 |
| 8 | Resistor 1kΩ | 1 | Resistor Reference |
| 9 | Jumper Wires | As req. | Buy Wires |
| 10 | Power Supply (5V) | 1 | Buy Power Supply |
Useful Tools
| Tool | Quantity | Purpose / Notes | Click & Buy |
|---|---|---|---|
| Soldering Iron Kit | 1 | For making permanent connections | Click & Buy |
| Solder Wire (60/40, 0.8mm) | 1 | Electrical soldering | Click & Buy |
| Wire Stripper & Cutter | 1 | Stripping jumper wires | Click & Buy |
| Mini Screwdriver Set | 1 | For module and relay terminal screws | Click & Buy |
| Multimeter | 1 | Testing voltages and continuity | Click & Buy |
| Hot Glue Gun (optional) | 1 | Securing components in place | Click & Buy |
| Small Pliers | 1 | Holding and bending wires | Click & Buy |
| Heat Shrink Tubing Set | 1 | Insulating exposed wires | Click & Buy |
Download Circuit Diagram

Circuit Diagram Explanation
IR Sensor → Arduino detects object pulses on D7.
OLED Display (I2C) → Connected via SDA (A4) & SCL (A5).
Push Buttons → Connected to D3, D4, D5 for reset and control.
Relay Driver → D6 triggers BC547 transistor → activates relay.
Diode 1N4148 → Protects transistor from back EMF.
Common Power Supply → All modules powered via 5V and GND.
Step-by-Step Guide
Step 1: Assemble Components
Place Arduino Nano on a breadboard or perfboard.
Connect IR sensor, OLED, buttons, and relay module as per schematic.
Step 2: Power Connections
Use regulated 5V DC power supply.
Connect common GND across all modules.
Step 3: Sensor Setup
Adjust the IR sensor’s potentiometer for proper detection distance.
Ensure it gives a HIGH pulse on object detection.
Step 4: Relay Driver Setup
Use BC547 transistor as a switch.
Add 1kΩ resistor at the base.
Place 1N4148 diode across relay coil.
Step 5: Display Interface
Connect OLED via I2C pins (A4, A5).
Install Adafruit SSD1306 library in Arduino IDE.
Step 6: Programming Arduino
Code logic:
Arduino Code
Increment count on each IR detection.
Display count on OLED.
Use buttons to reset or control.
If count reaches threshold → activate relay.
Step 7: Testing
Pass objects in front of IR sensor.
Observe real-time count on OLED.
Relay activates once threshold is reached.
⚡ Applications of Smart Object Counter
Industrial Counting Systems (packaging, production lines)
Classroom Attendance Counters
Automatic Entry/Exit Gate Monitoring
Smart Inventory Management
People Counting in Malls or Events
❓ FAQs
Q1. What is the maximum range of this object counter?
Depends on the IR sensor used, typically 2–30 cm.
Q2. Can I use a 16×2 LCD instead of OLED?
Yes, but OLED is more compact and readable.
Q3. Can the relay control high voltage devices?
Yes, but ensure the relay rating matches your load (e.g., 220V AC appliances).
Q4. How can I increase counting distance?
Use ultrasonic sensor or laser sensor for long-range detection.
Q5. Can I expand this project for two-way counting?
Yes, by adding two IR sensors at the entry/exit points.